4 November 2011

88 mm Flak 37 mit Behelfslafette - Painting stages

Decided to give my FLAK a faint green spiderweb camo scheme.

Here we go:


Some Pics of basecoating the Flak.

First primed the whole piece with Humbrol Primer. Next model I will try another primer because the Humbrol paint was a little 'grainy'. I don't like to use spraycan primer because it's far too indiscriminate in use; too heavy a coat.

I preshaded using Tamiya Flat Black and Vallejo Royal Purple 72016 (Game Color). First light overspray with Tamiya Desert Yellow + Buff, this gives a medium brown look when sprayed over the black and purple. Then several coats with a lighter shade using buff + white. In some spots I used some plain yellow in the mix to get a  difference in hue.


This is what it looks like:


There's going to be a camouflage pattern added and extensive weathering afterwards.

Stay tuned

15 October 2011

Final stage for the Charmer.

This is the end station for 'This Charming Man'


Placed on the Flak base where he s going to stay for the rest of his 'life'

6 October 2011

This Charming Man

The Kradmantel Almost Finished ....


Photoshopped in front of a Normandy meadow


Italian Style Camo Trousers to add some difference in hue.


By using some Russian Uniform Green I added some warmth to the greens of the coat .


29 August 2011

This Charming Man

Update on the painting of the Kradmantel.


Upper torso and left arm finished


Front of the right arm finished, backside of the arm phase 2.


On the backside you clearly see the 3 phases of the painting process.
Left arm finished.
Upper left back basecoat + first highlight (phase 2).
Upper right basecoat (phase 1).
Lower side basecoat in progress (phase 1).


  Vallejo and Andrea Acryllics painted over a black basecoat of Vallejo Primer.

11 August 2011

8 August 2011

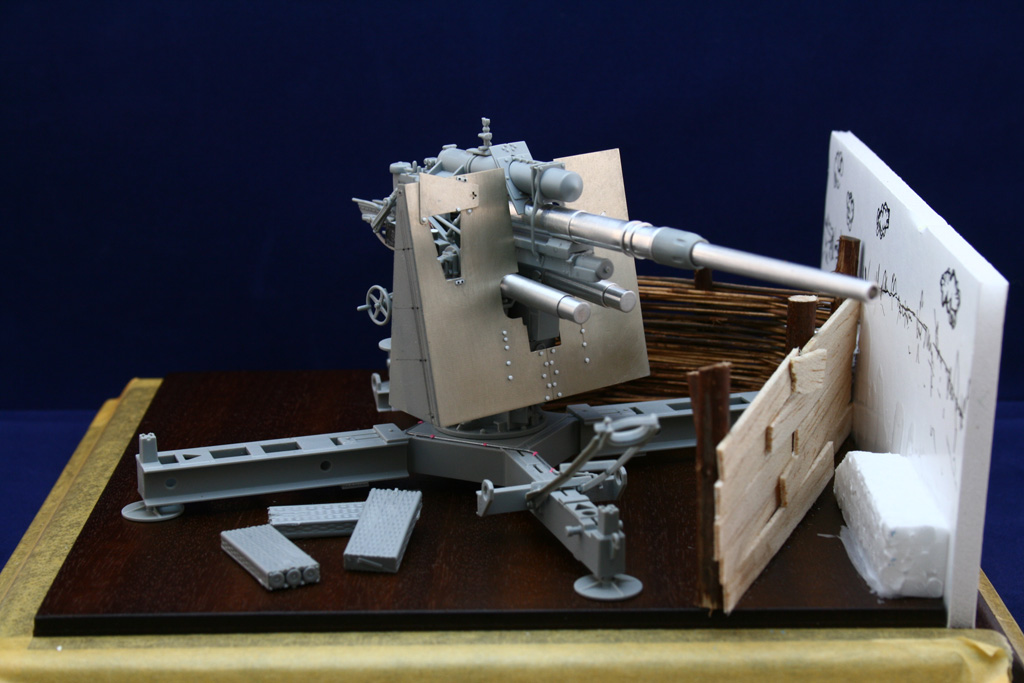
Basic groundwork on the Flak vignette


Some basic groundwork to accomodate the Flak.


Cosy corner.  

Picknick anyone ?


No rather not :


Not enough air to breath !


6 August 2011

88 Flak PE Gun Shield

By finishing the Flak shield, the work on the gun came to an end.

It's a photo-etched Aber replacement part.


This is what the Flak looks like, kind of snapped together, I wanted to keep the sub-assemblies to ease the paint job.


On a wooden base with an Alpine Miniatures 'German Officer' who happened to pass by.


The background is one of my more artistic creations !